Encountering the DNS_PROBE_FINISHED_NXDOMAIN error signifies that your web browser is unable to find the server’s IP address, which can be highly frustrating as it prevents you from accessing the desired website.
Thankfully, there exist several straightforward remedies to address this problem. This article aims to shed light on the causes behind the DNS_PROBE_FINISHED_NXDOMAIN error and provides guidance on how to diagnose it. Furthermore, it presents nine effective solutions to rectify this issue.
- Why Does the DNS_PROBE_FINISHED_NXDOMAIN Error Occur?
- Resolving the DNS_PROBE_FINISHED_NXDOMAIN Error: 9 Effective Fixes
- Clear the DNS cache
- Change DNS Servers
- Check the Local Hosts File
- Disable Antivirus or VPN
- Temporarily Turn Off Your CDN
- Release and Renew the IP Address
- Disable VPN or Proxy
- Reboot Your Router and Modem
- Conclusion
- FAQs
Why Does the DNS_PROBE_FINISHED_NXDOMAIN Error Occur?
DNS_PROBE_FINISHED_NXDOMAIN can occur for a variety of reasons, including:
- The target website cannot be found by a web browser because the domain is not registered or has expired.
- There is no IP address associated with the domain.
- Because of a misconfiguration in the user’s DNS settings, the domain cannot be resolved.
- A VPN or antivirus software conflicts with network configuration.
- The problem is caused by the internet service provider.
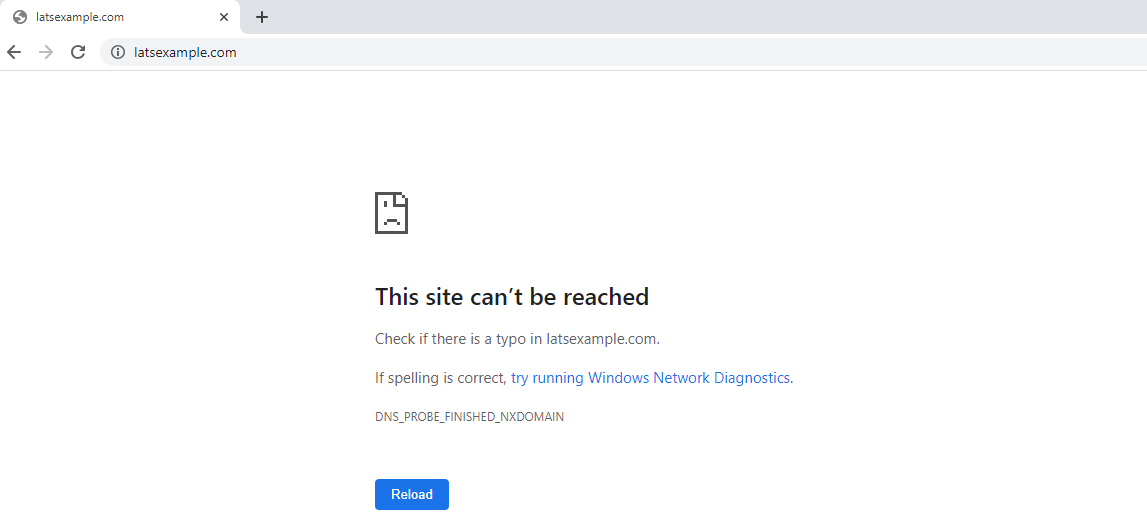
If you are facing the DNS_PROBE_FINISHED_NXDOMAIN problem, you will receive a warning that says This site cannot be visited in Google Chrome. Other browsers will display other messages, which we shall demonstrate at the end of this lesson.
Here are two approaches for determining the cause of DNS_PROBE_FINISHED_NXDOMAIN:
Domain Name Expired
A problem with the website’s domain name is one of the causes of the DNS_PROBE_FINISHED_NXDOMAIN error. For example, if you misspell the URL, the browser will be unable to find the right IP address in the domain name system (DNS).
If the URL spelling is correct but the issue persists, the domain is most likely expired or unregistered. The ICANN lookup tool can be used to determine whether a domain is active. Enter the URL of the site to see if it is active in the ICANN data.

As a website owner, you can avoid the DNS_PROBE_FINISHED_NXDOMAIN error by doing the following:
Within 15 days of registering the name, verify your domain ownership details. Otherwise, ICANN may decide to suspend it. Look for the verification email in your mailbox and follow the instructions to unsuspend a domain.
So that the domain points to the correct site, use the nameservers provided by the website’s hosting provider.
Examine the DNS records for the domain. The A record in particular is in charge of mapping the domain name to the IP address. Hostpoco customers can do this with the DNS Zone Editor.
Renew the domain registration before it expires. A domain’s life cycle demonstrates:
After expiration, your domain enters a grace period of 0 to 45 days. If you renew the domain during this time, you will not be charged any further fees.
There is an additional cost to activate the domain again after you reach the redemption period, which can last up to 30 days.
If your domain is in the pending deletion stage, you must wait until it is ready for re-purchase.

Browser History – Cache
This method can help you determine whether the DNS_PROBE_FINISHED_NXDOMAIN problem affects all users or just your browser.
Open a proxy server site, such as hide.me or HMA, to test the website. Then, enter the URL of the website and select the server location.

If the website is available from other locations, the error is most likely caused by problems with your device or browser rather than the site itself. The sections that follow will look at various solutions to this challenge.
Resolving the DNS_PROBE_FINISHED_NXDOMAIN Error: 9 Effective Fixes
The “DNS_PROBE_FINISHED_NXDOMAIN” error occurs when your browser cannot resolve a website’s domain name to its corresponding IP address. This can happen due to various reasons, and here are nine solutions to try and resolve the issue:
Below, we present nine solutions to tackle the DNS_PROBE_FINISHED_NXDOMAIN error message effectively.
Clear the DNS cache
Flushing the DNS cache is a widely recommended solution to address the DNS_PROBE_FINISHED_NXDOMAIN issue.
The DNS cache retains the IP addresses of previously visited websites on a client’s machine. However, outdated entries in the DNS cache can hinder the computer from locating the correct website.
Windows, macOS, and Google Chrome users can easily refresh their DNS cache, making it an effective method to resolve the DNS_PROBE_FINISHED_NXDOMAIN problem.
Windows
To flush the DNS cache on Windows, follow these step-by-step instructions:
- Go to the Start menu and search for “Command Prompt.”
- Right-click on “Command Prompt” and select “Run as administrator.”

Once a new window appears, enter the commands listed below. Then press the Enter key.
# ipconfig /flushdns
Check the browser to see if the DNS_PROBE_FINISHED_NXDOMAIN message is still present.
macOS
To clear the browser cache on macOS, you can follow these steps:
- Launch your preferred web browser (e.g., Safari, Google Chrome, Mozilla Firefox).
- In the top menu bar, click on the browser’s name (e.g., Safari, Chrome).
- From the drop-down menu, select “Clear Cache” or “Clear Browsing Data.” The specific wording may vary depending on the browser you are using.
- A window will appear with various options to clear data. Make sure the “Cache” or “Cached Images and Files” option is selected.
- You can also choose the time range for which you want to clear the cache. Select “All Time” to clear the entire cache.
- Click on the “Clear” or “Clear Data” button to proceed.
- Wait for the process to complete. Once done, the browser cache will be cleared.
Chrome by Google
Because Google Chrome has its own DNS cache distinct from the operating system, clearing it may resolve the DNS_PROBE_FINISHED_NXDOMAIN Chrome problem.
Enter chrome://net-internals/#dns into the Chrome address bar to do so. Then click the Clear host cache button.
Check to see if the DNS_PROBE_FINISHED_NXDOMAIN issue has been resolved.

For Linux
Open Terminal.
In Terminal, type: sudo systemd-resolve –flush-caches and press Enter.
sudo systemd-resolve --flush-cachesThis will clear the DNS cache on your Linux system.
Check the Website URL
Ensure that you have entered the website URL correctly. Typos or misspellings in the domain name can cause the DNS resolution to fail. Double-check the URL to make sure there are no errors.
Change DNS Servers
Switch to a different DNS server. You can use public DNS servers like Google DNS (8.8.8.8 and 8.8.4.4) or Cloudflare DNS (1.1.1.1 and 1.0.0.1). To change DNS settings:
For Windows
Go to Control Panel > Network and Internet > Network and Sharing Center > Change adapter settings. Right-click on your active network adapter, select Properties, then select “Internet Protocol Version 4 (TCP/IPv4)” and click on Properties. Choose “Use the following DNS server addresses” and enter the preferred and alternate DNS server addresses.
For Mac
Go to System Preferences > Network > select your active connection > click Advanced > go to the DNS tab > add and remove DNS servers using the “+” and “-” buttons.
For Linux
Modify the DNS servers in the network configuration file located in /etc/resolv.conf.
Check the Local Hosts File
The local hosts file can contain incorrect entries, leading to DNS resolution problems.
For Windows, macOS, and Linux
- Locate the hosts file on your computer.
- Open the hosts file using a text editor with administrative privileges.
- Look for any entries related to the website you are trying to access and remove them if necessary.
Disable Antivirus or VPN
Antivirus software or VPNs might interfere with DNS resolution. Temporarily disable them to check if they are causing the issue.
Temporarily Turn Off Your CDN
Content Delivery Networks (CDNs) can sometimes cause DNS-related issues. Try disabling your CDN temporarily to see if it resolves the error.
Release and Renew the IP Address
Your IP address might be conflicting with the website’s IP address, causing the error. Releasing and renewing your IP address can help fix this issue.
For Windows
- Open Command Prompt as an administrator.
- Type: ipconfig /release and press Enter.
- Type: ipconfig /renew and press Enter.
For macOS and Linux
- Open Terminal.
- Type: sudo dhclient -r and press Enter.
- Type: sudo dhclient and press Enter.
Disable VPN or Proxy
Virtual Private Networks (VPNs) or proxies can sometimes interfere with DNS resolution. Disable them temporarily to see if the error is resolved.
Reboot Your Router and Modem
Rebooting your router and modem can help refresh the network connection and resolve temporary issues.
Conclusion
Encountering the “DNS_PROBE_FINISHED_NXDOMAIN” error can be a frustrating experience, but with the effective solutions outlined above, you can troubleshoot and resolve the issue. By flushing the DNS cache, changing DNS servers, and checking firewall settings, you can effectively resolve DNS-related problems and regain access to the websites you want to visit. If the issue persists, consider reaching out to your ISP or seeking assistance from technical support.
Experience Seamless Browsing with Hostpoco: Get Your DNS_PROBE_FINISHED_NXDOMAIN Error Fixed Today! Try Hostpoco Now!
FAQs
Q. Should I restart my router and modem to fix the error?
Yes, rebooting your router and modem can help refresh the network connection and resolve temporary issues that may be causing the “DNS_PROBE_FINISHED_NXDOMAIN” error.
Q. If I continue experiencing the error, what should I do?
If the error persists after trying the solutions mentioned above, it may be best to reach out to your internet service provider (ISP) for assistance or contact the website administrators to check their DNS configuration.
Q. How can I fix the “DNS_PROBE_FINISHED_NXDOMAIN” error?
There are several effective solutions to fix this error, including flushing the DNS cache, changing DNS servers, checking the local hosts file, disabling VPN or proxy, and restarting the DNS client service, among others.